If you have been wanting your EMF brake light to work seamlessly with your brakes, this guide will help you achieve that. However, it is essential to note that this solution ONLY WORKS with brakes that are equipped with a switch and the correct plug on the brake lever.
To get started, ensure that your brake system has the necessary components:
Verify the Brake Switch: Check that your brake lever is fitted with a functional switch. This switch is crucial for activating the brake light when the brakes are engaged. It will be a type of plug on the brake leavers.
Check the Plug Compatibility: Make sure that the plug on your brake lever matches the specifications required for the EMF brake light. Incompatible plugs will prevent the brake light from functioning properly.
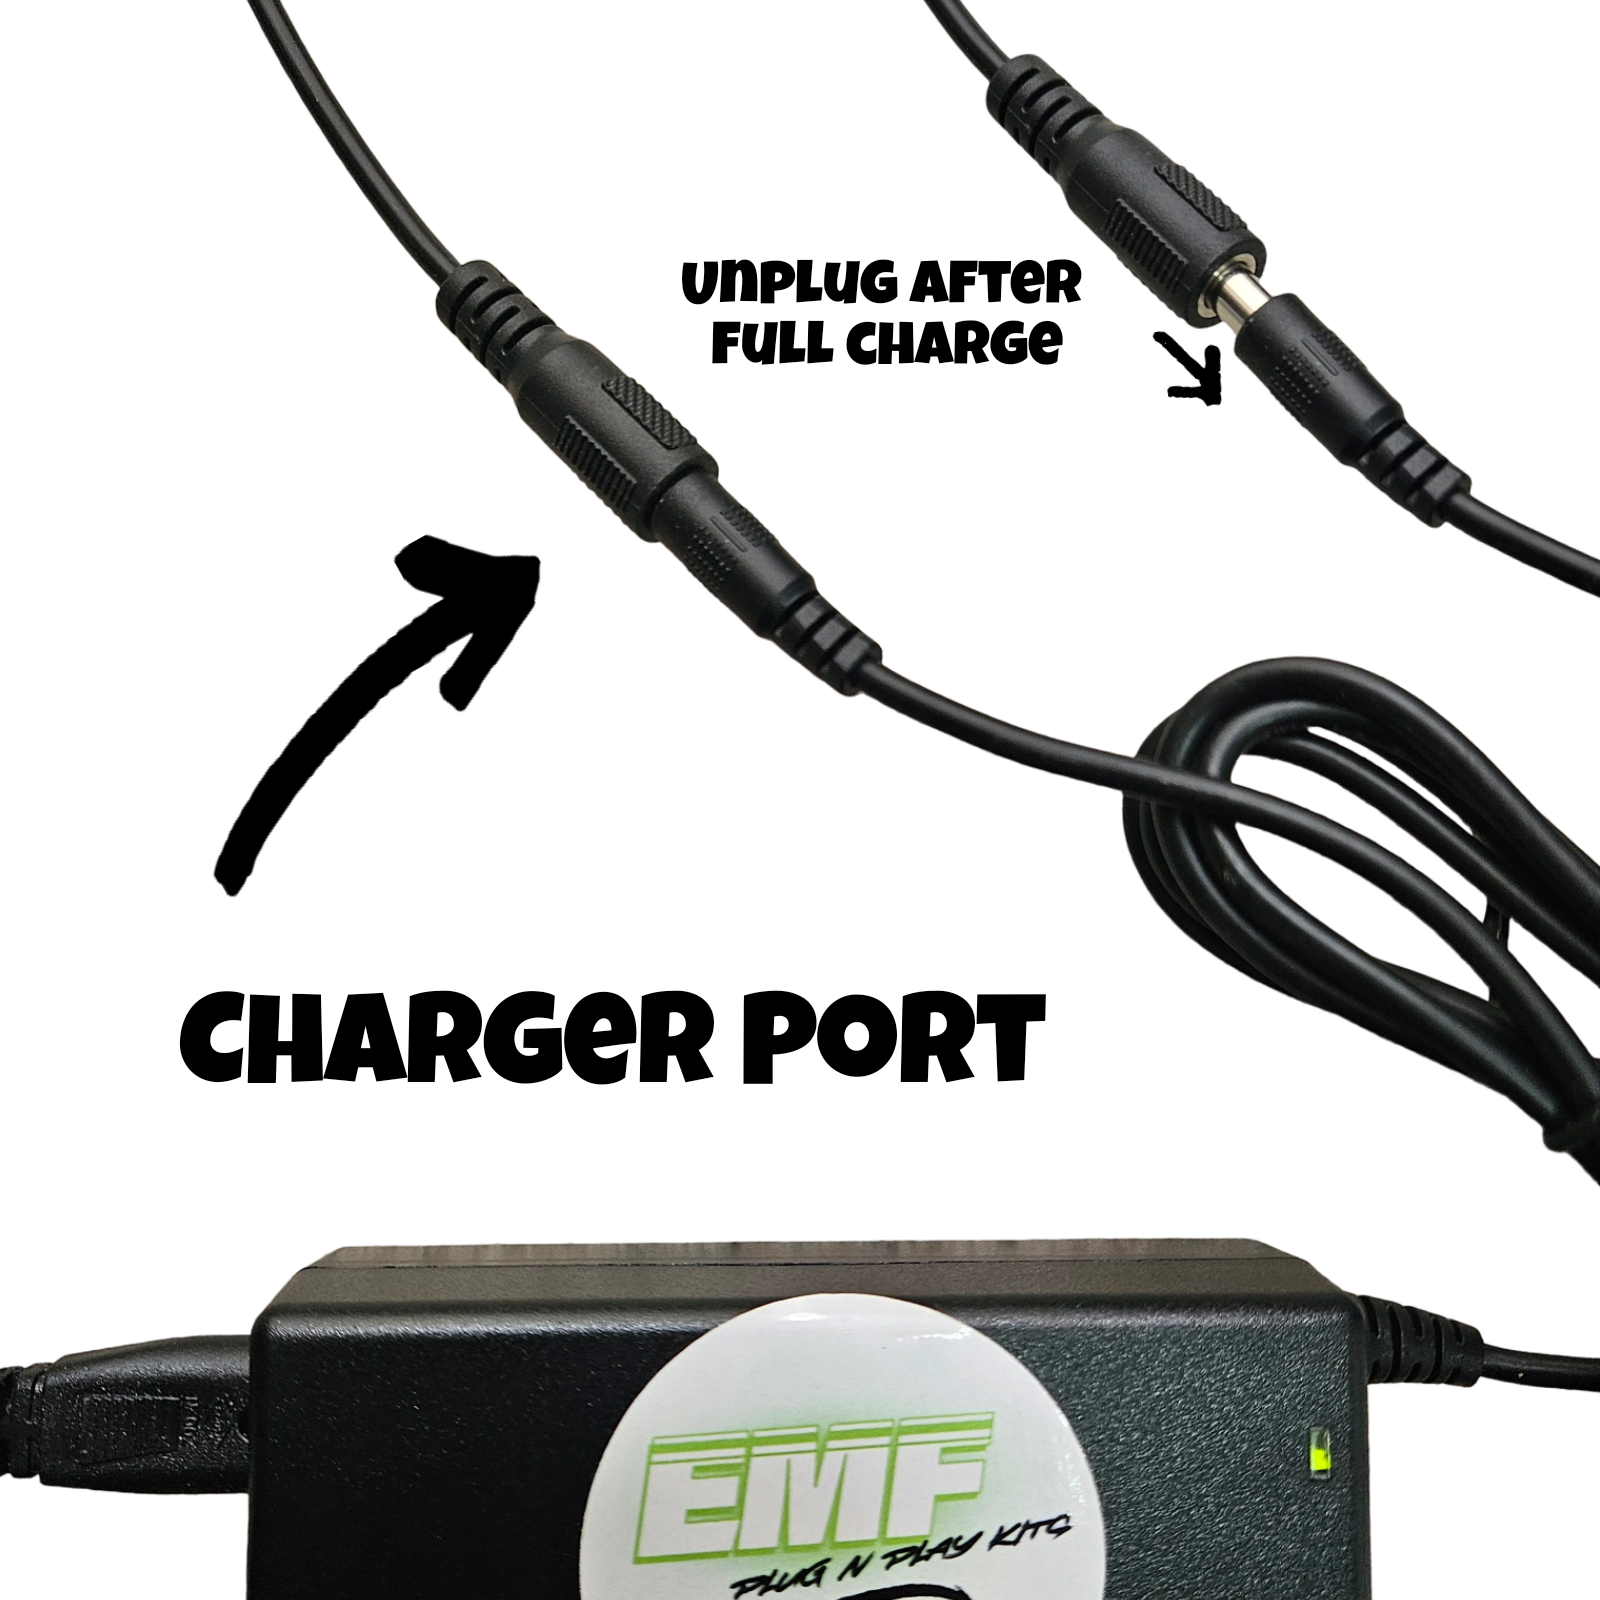
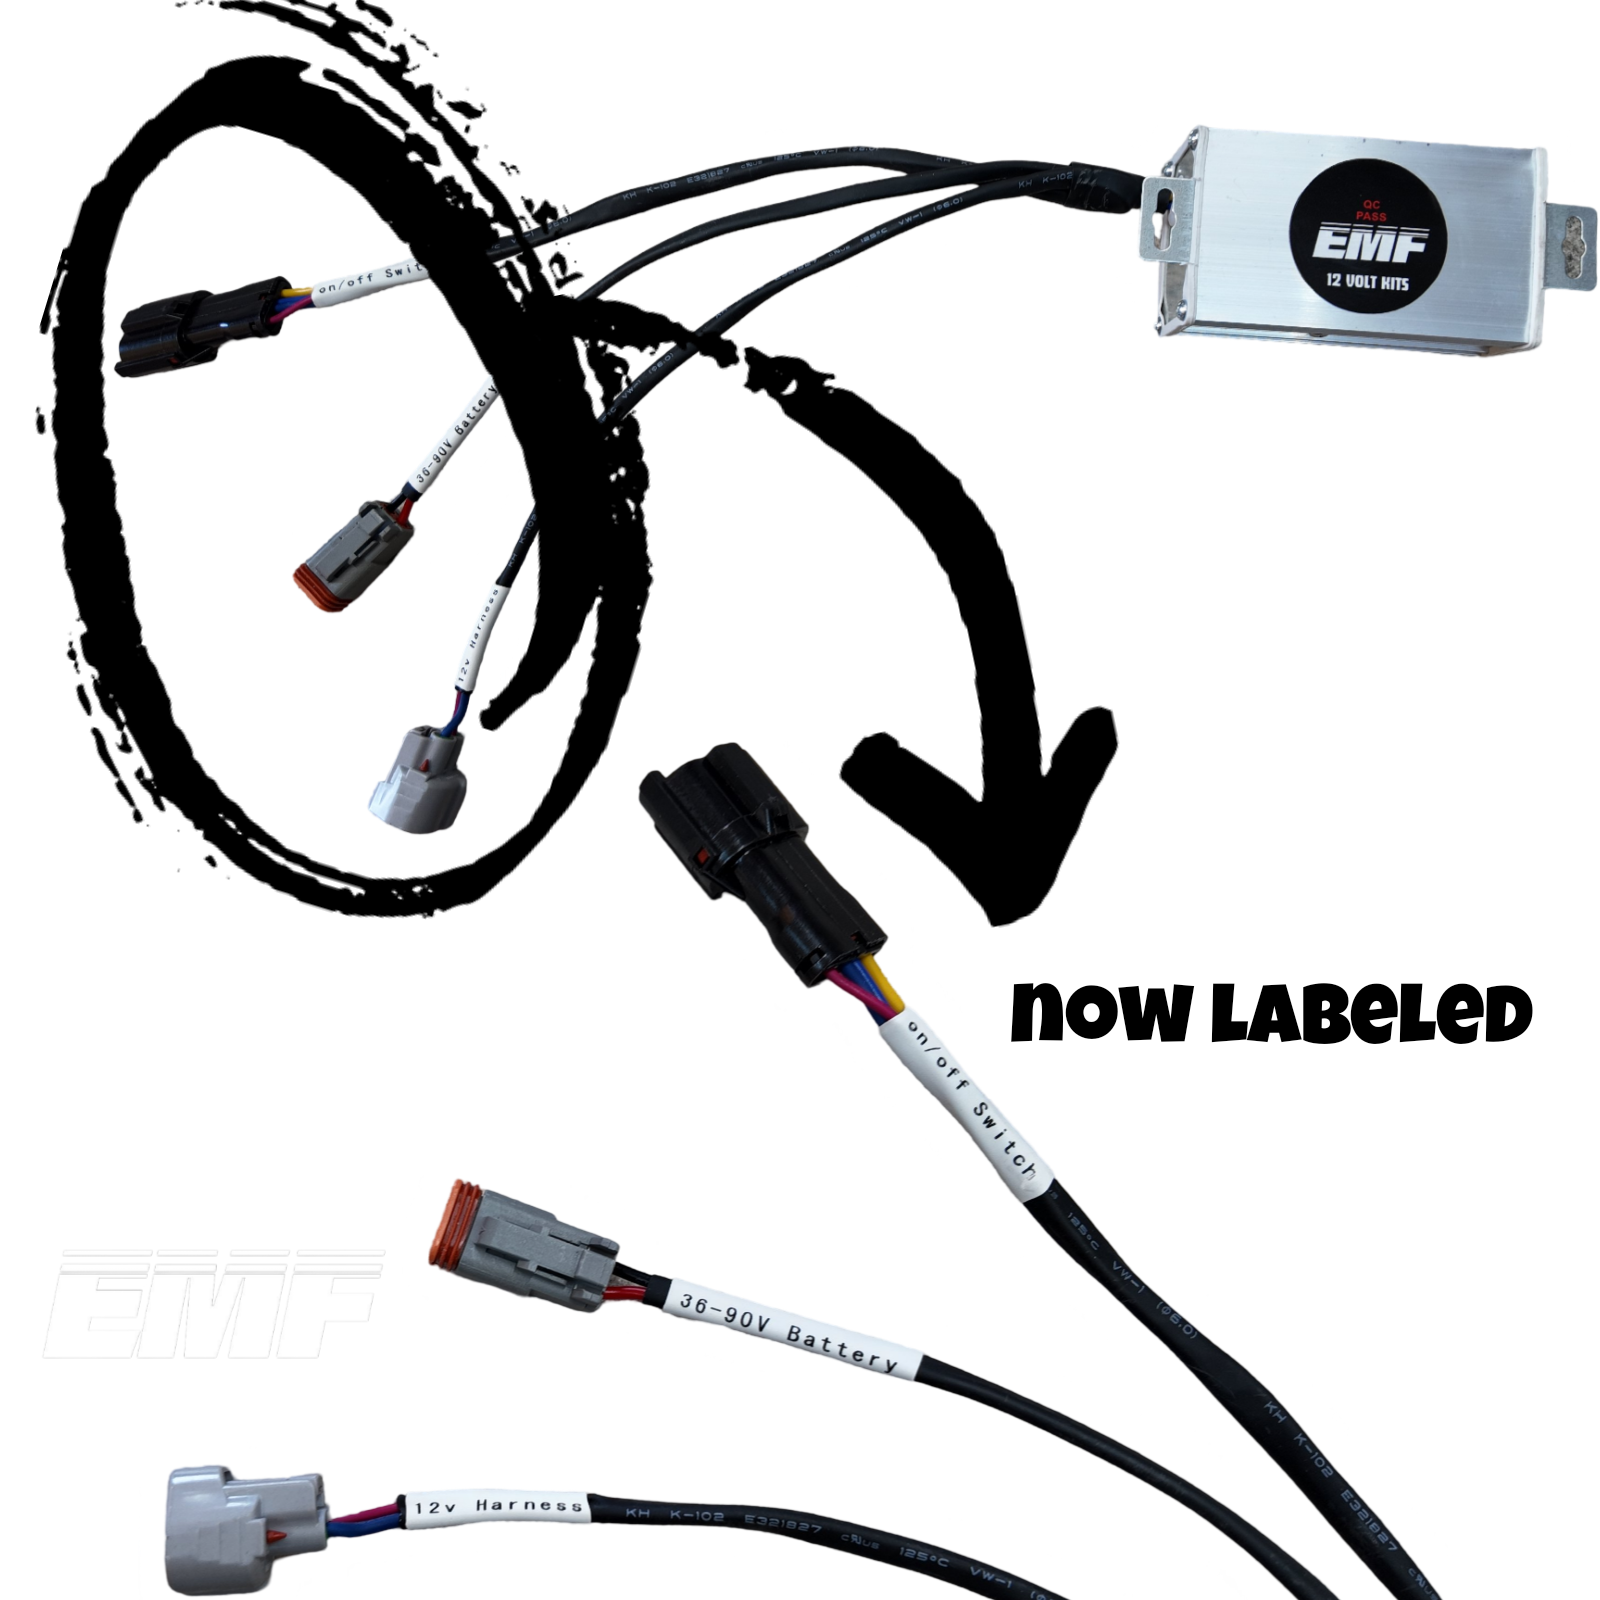
Installation: Carefully follow the installation instructions on the picture for connecting the EMF brake light to your brake switch. Make sure all connections are secure and properly insulated.
Testing: Once installed, test the brake light by engaging the brakes. The light should illuminate when the brakes are applied, indicating that the installation was successful.
By ensuring compatibility and following these steps, you can enjoy a fully functioning EMF brake light that activates with your brakes.
PLEASE INSURE YOU UNDERSTAND CORECT BEFOR ORDERING! Please Watch Video On YouTube Reach Out For Questions! If Your Brake Has No Switch Or Wire Coming Out It Wont Work!
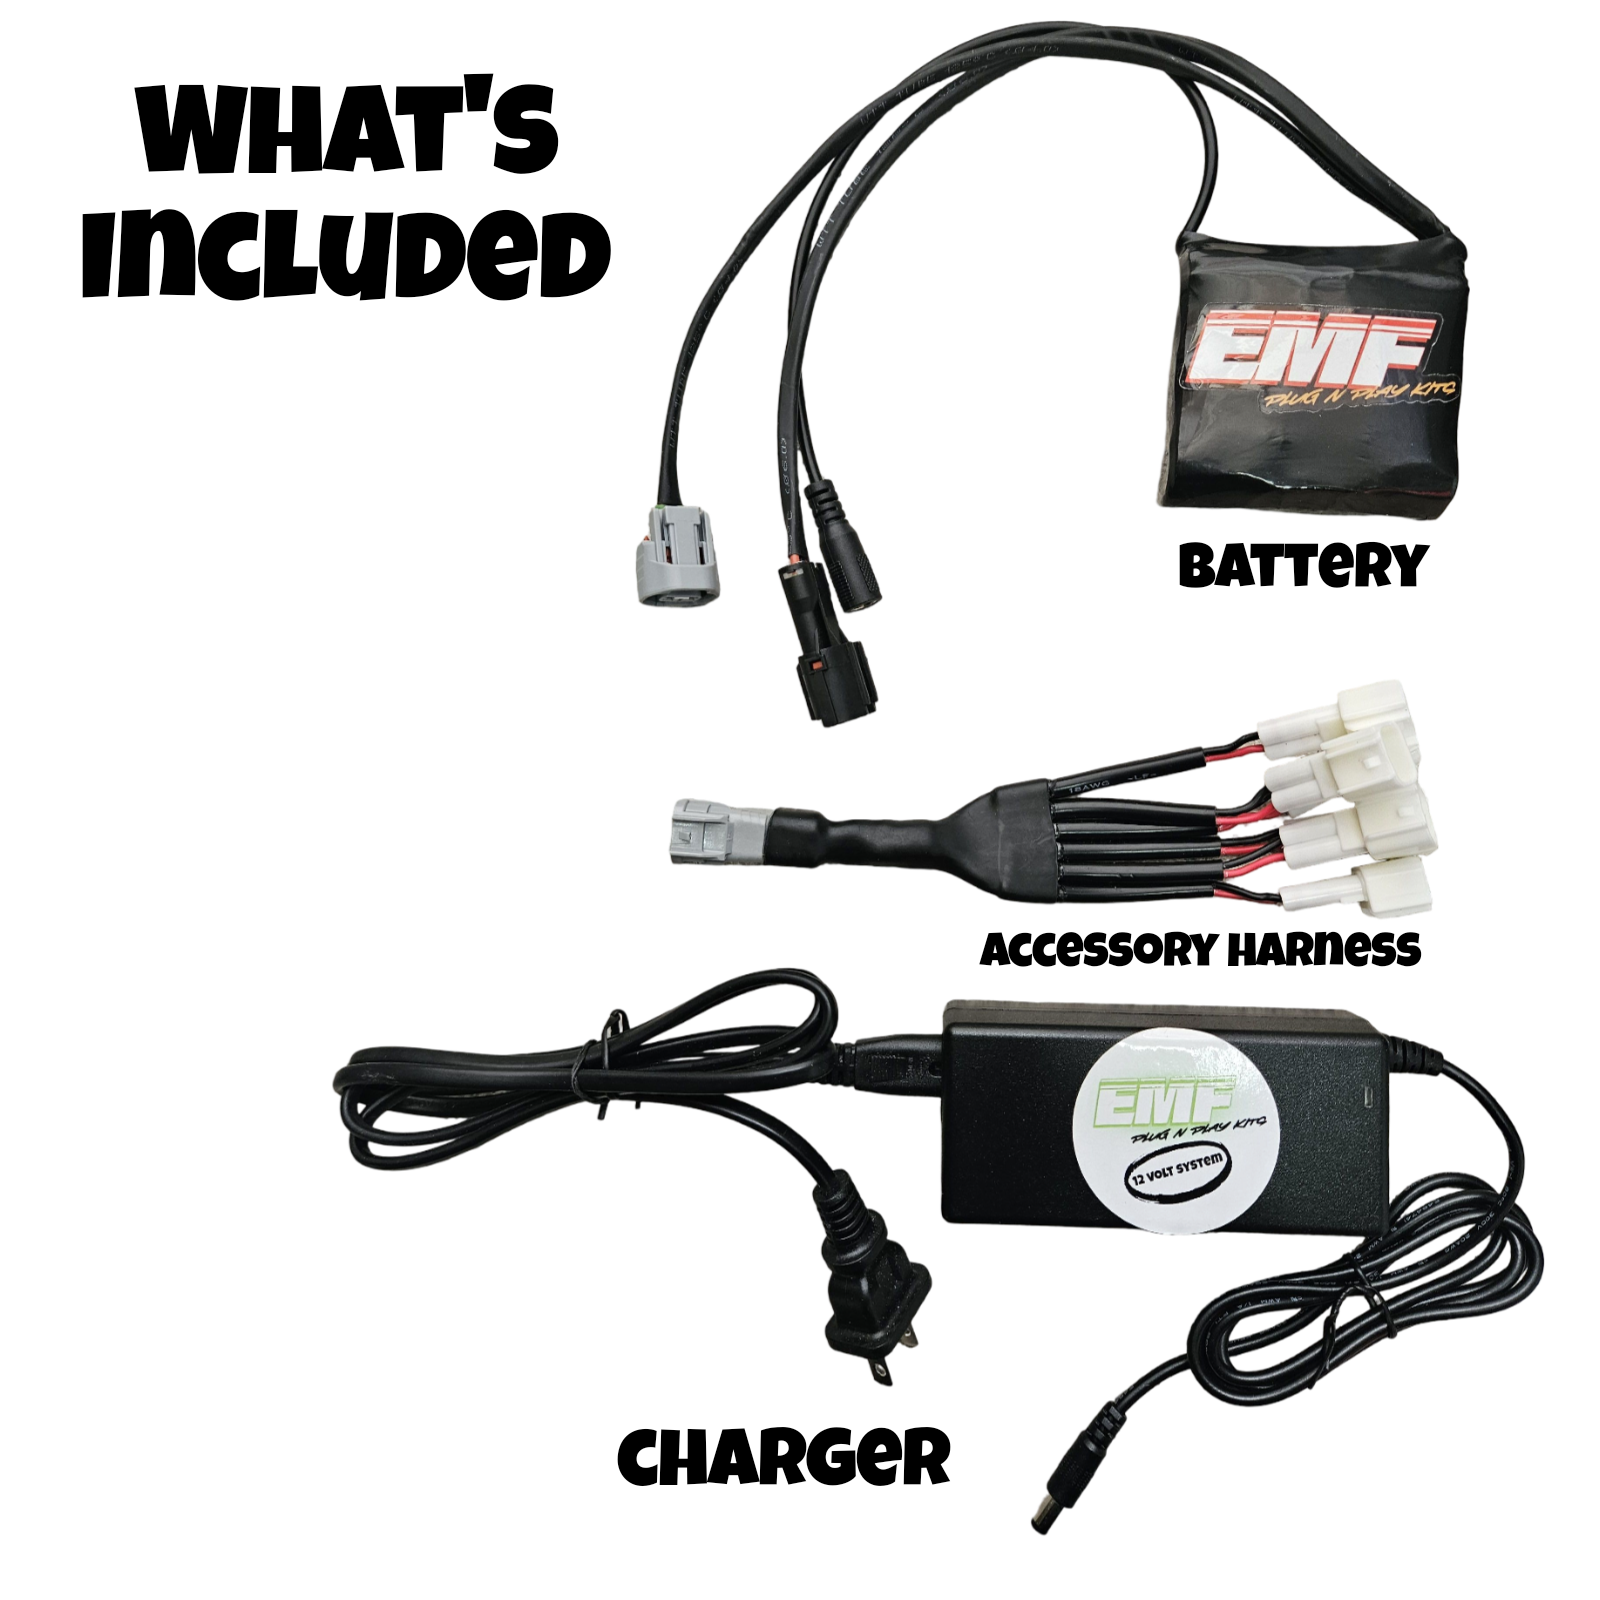
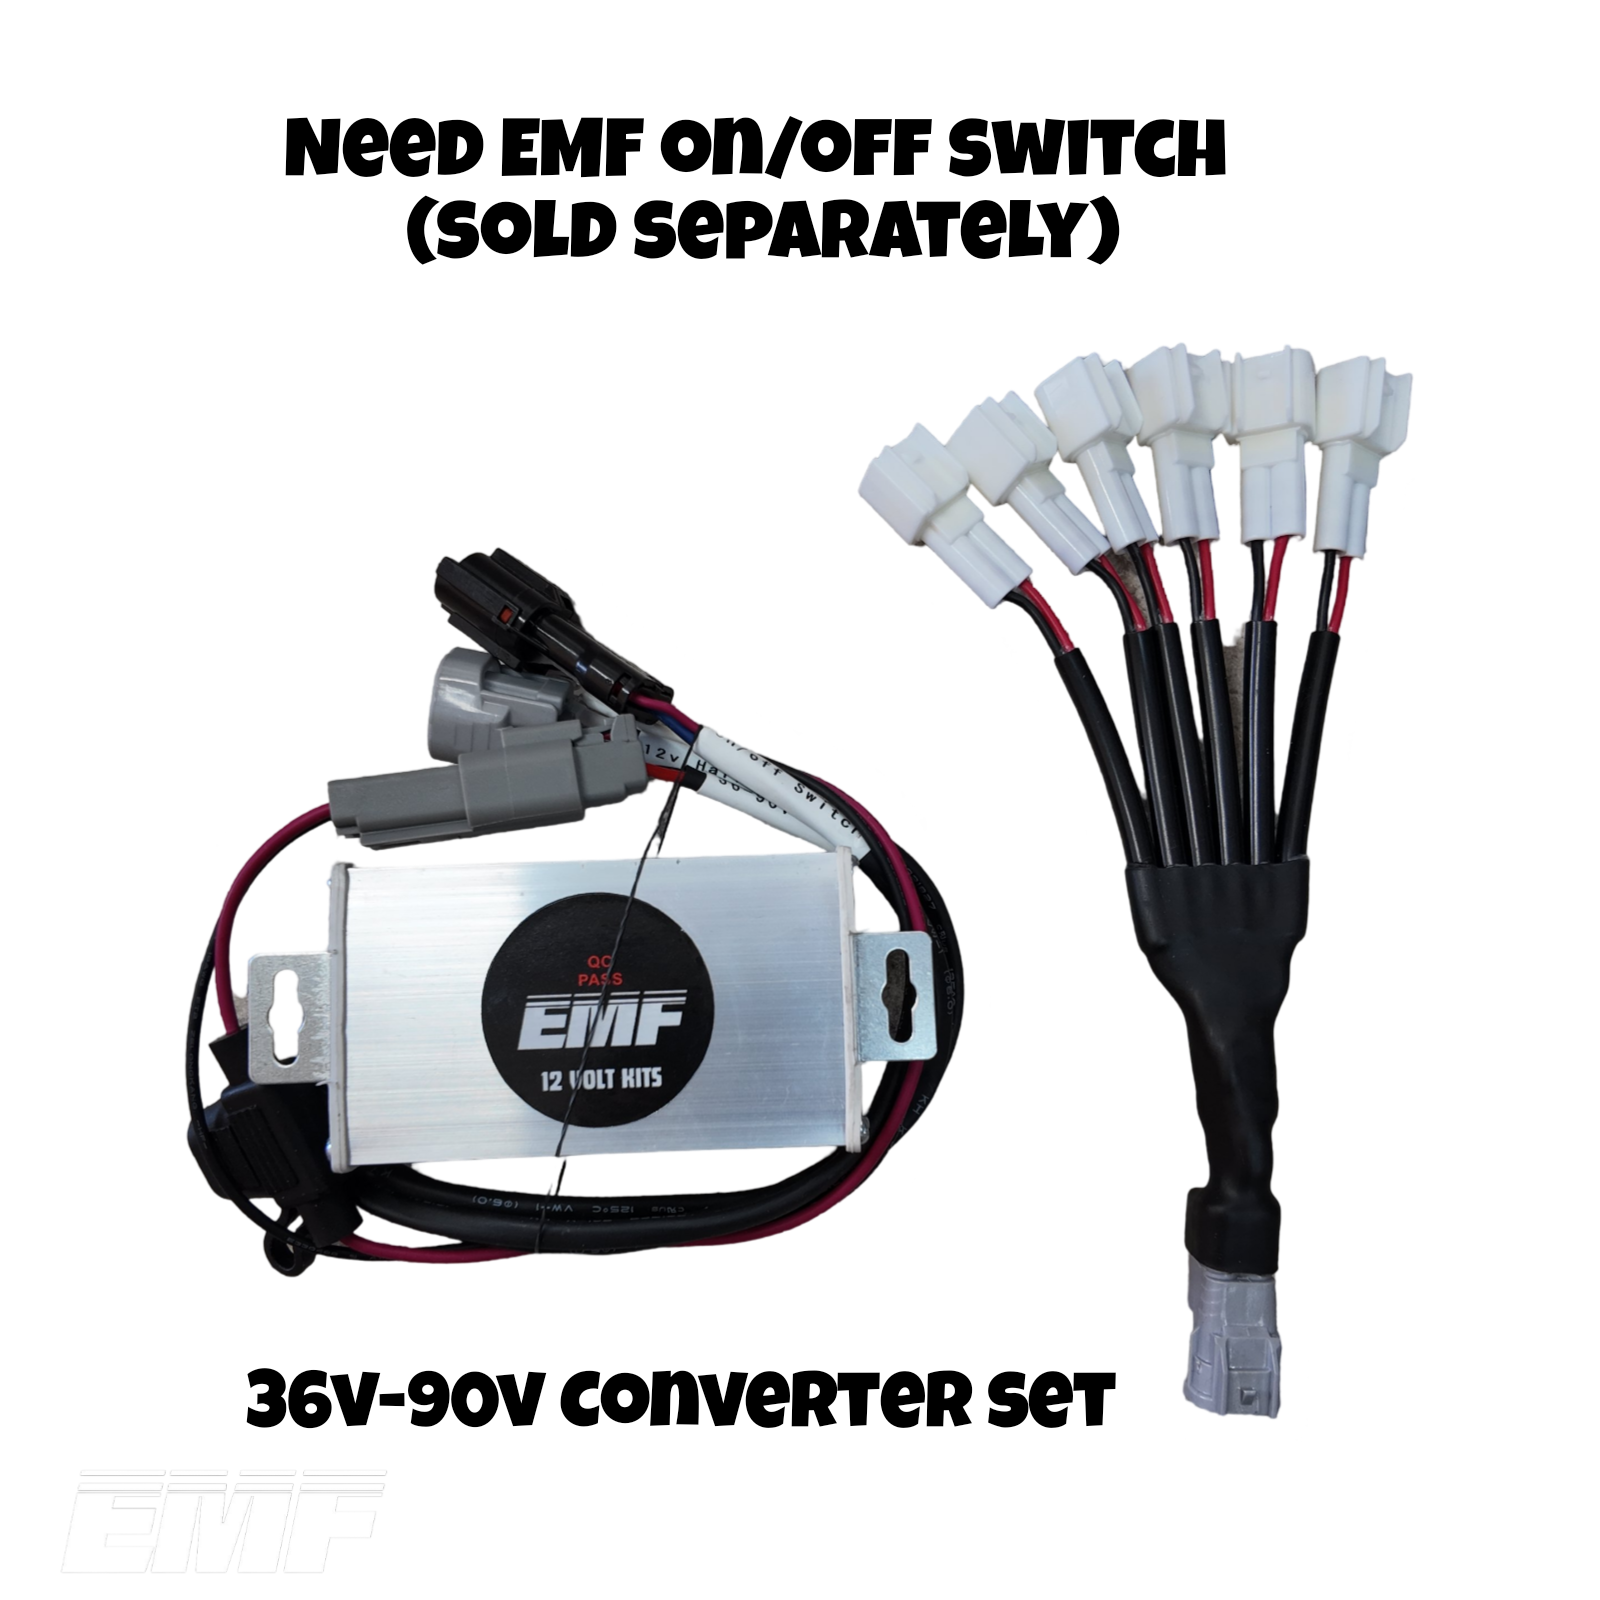
-Must Have EMF 12v Power Supply To Plug Into! Please See Our YouTube Video!
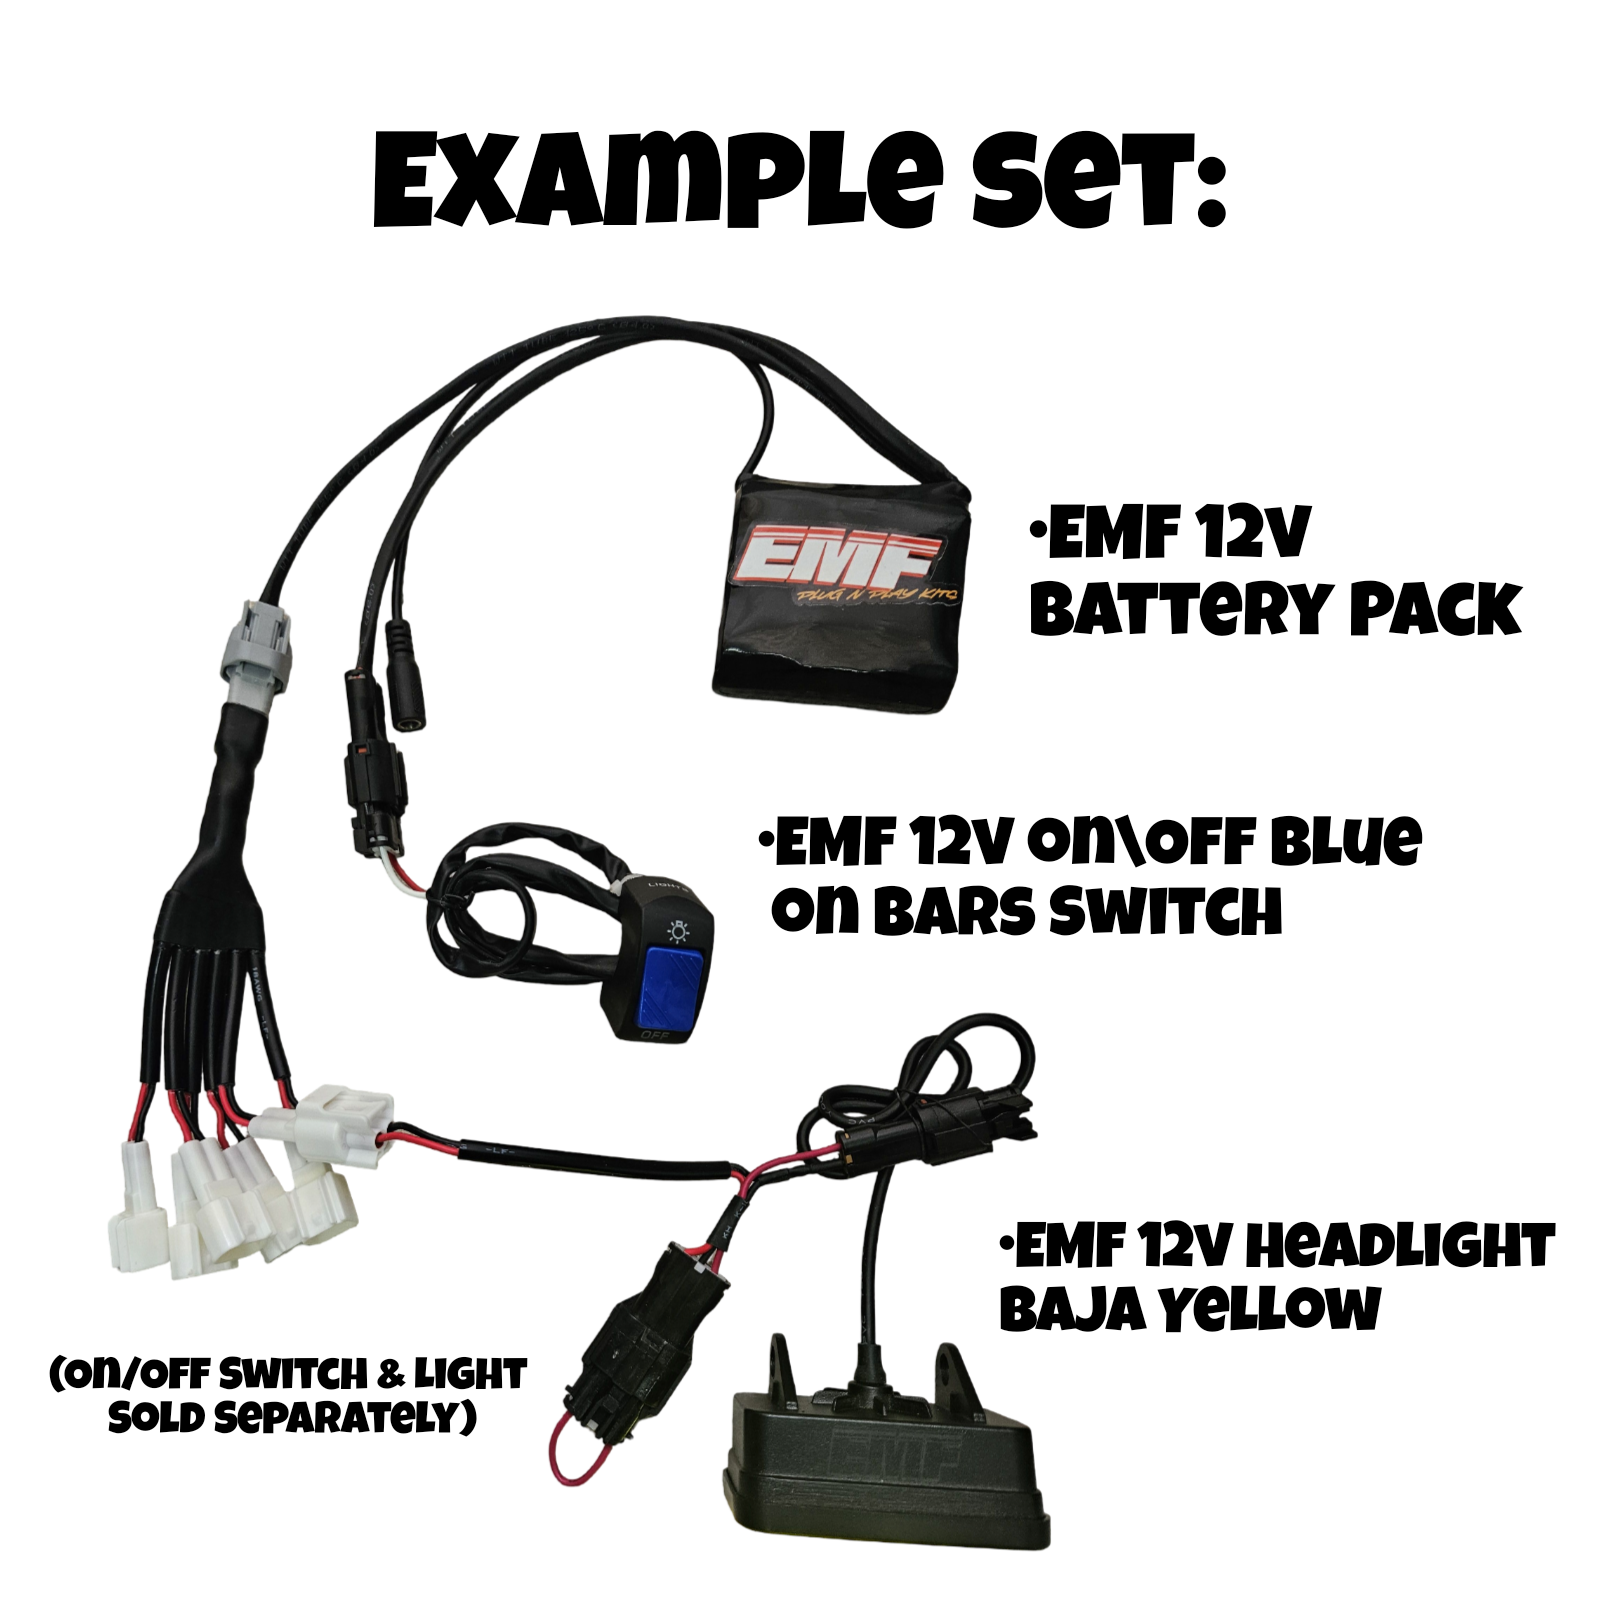
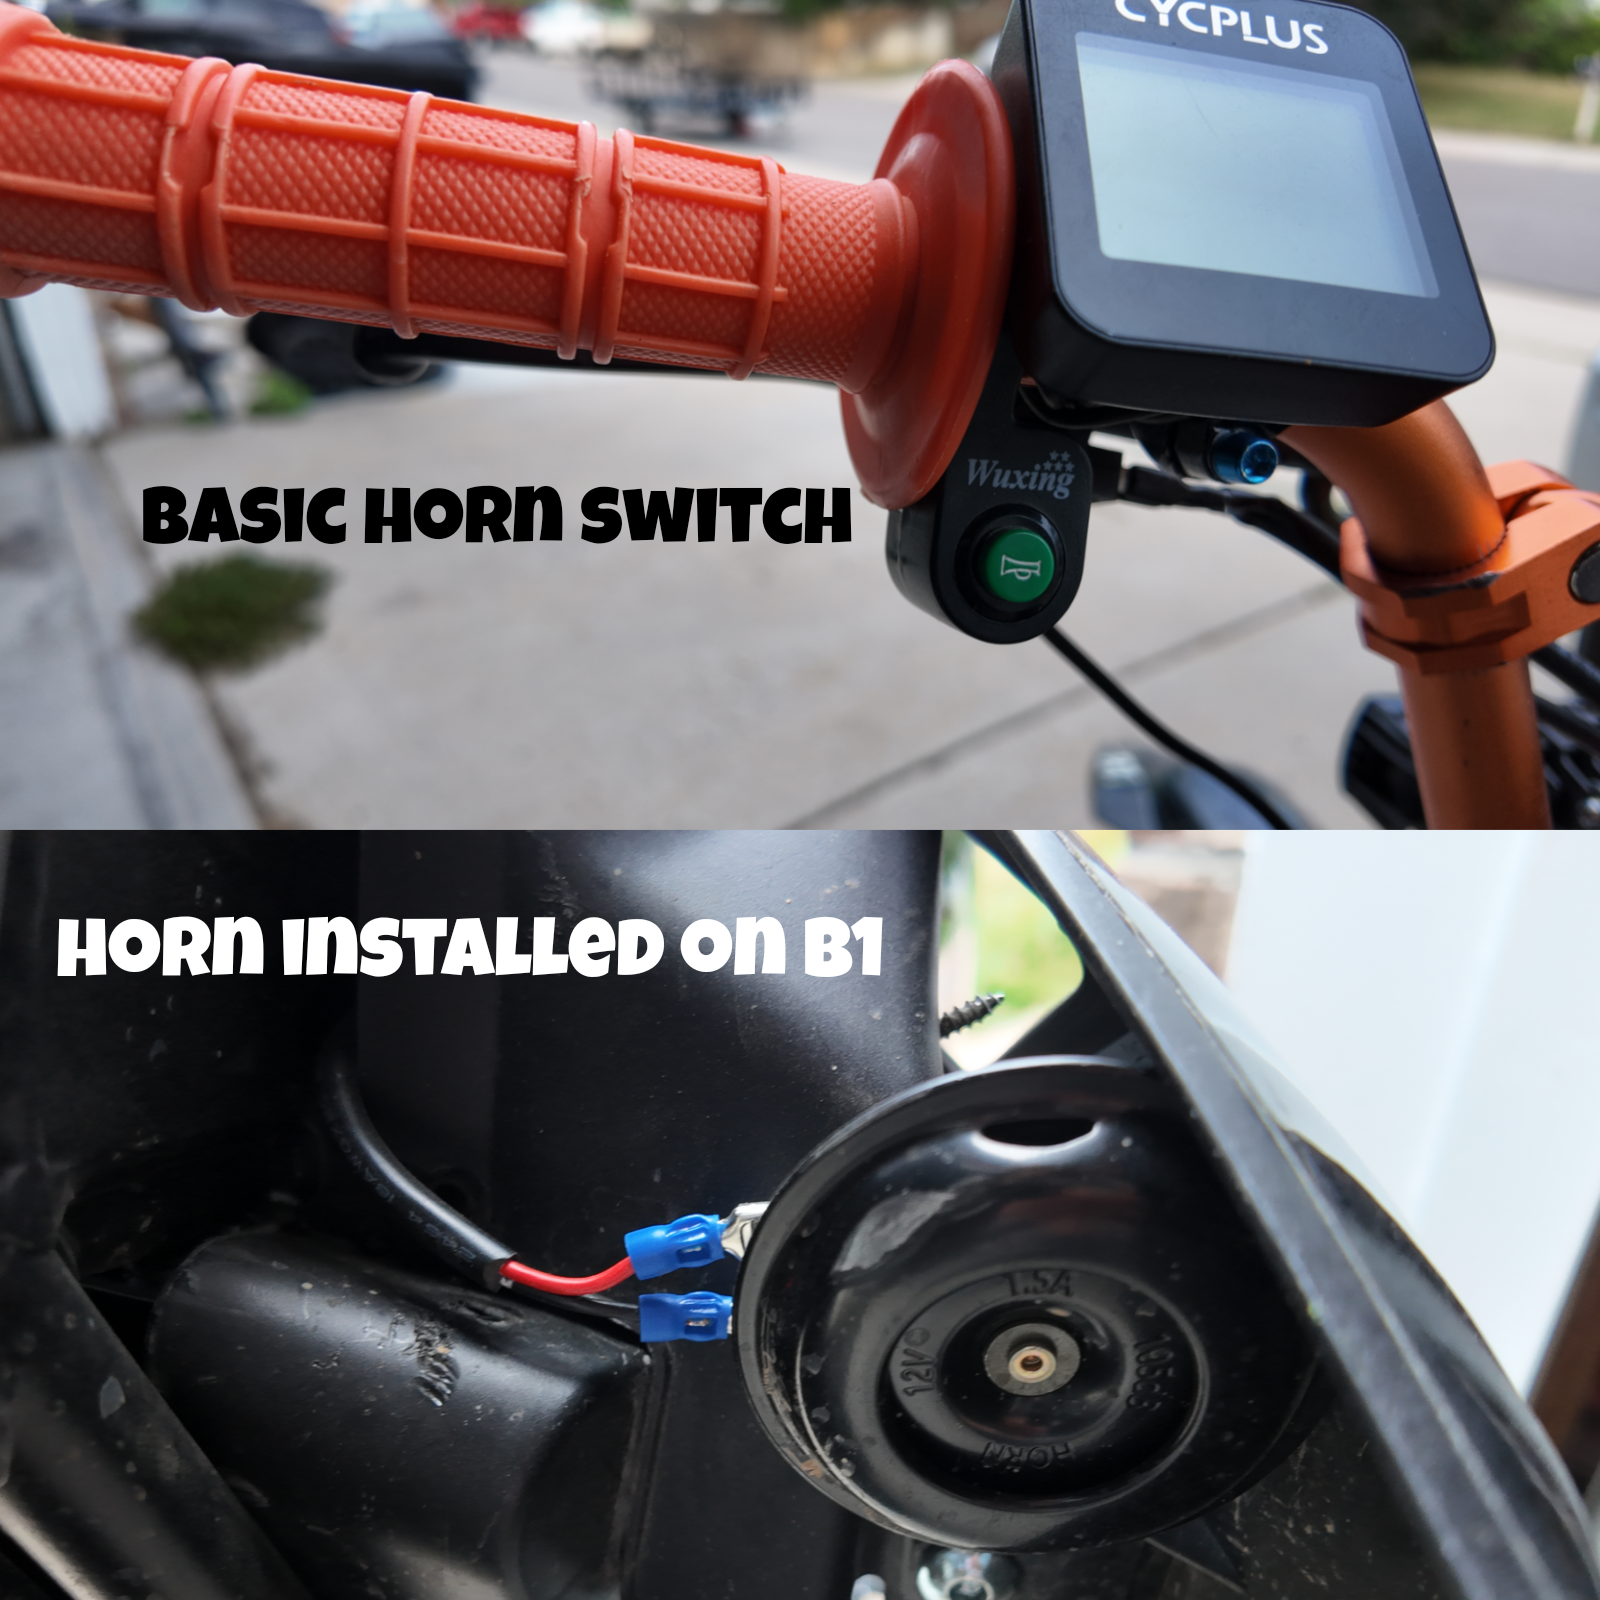
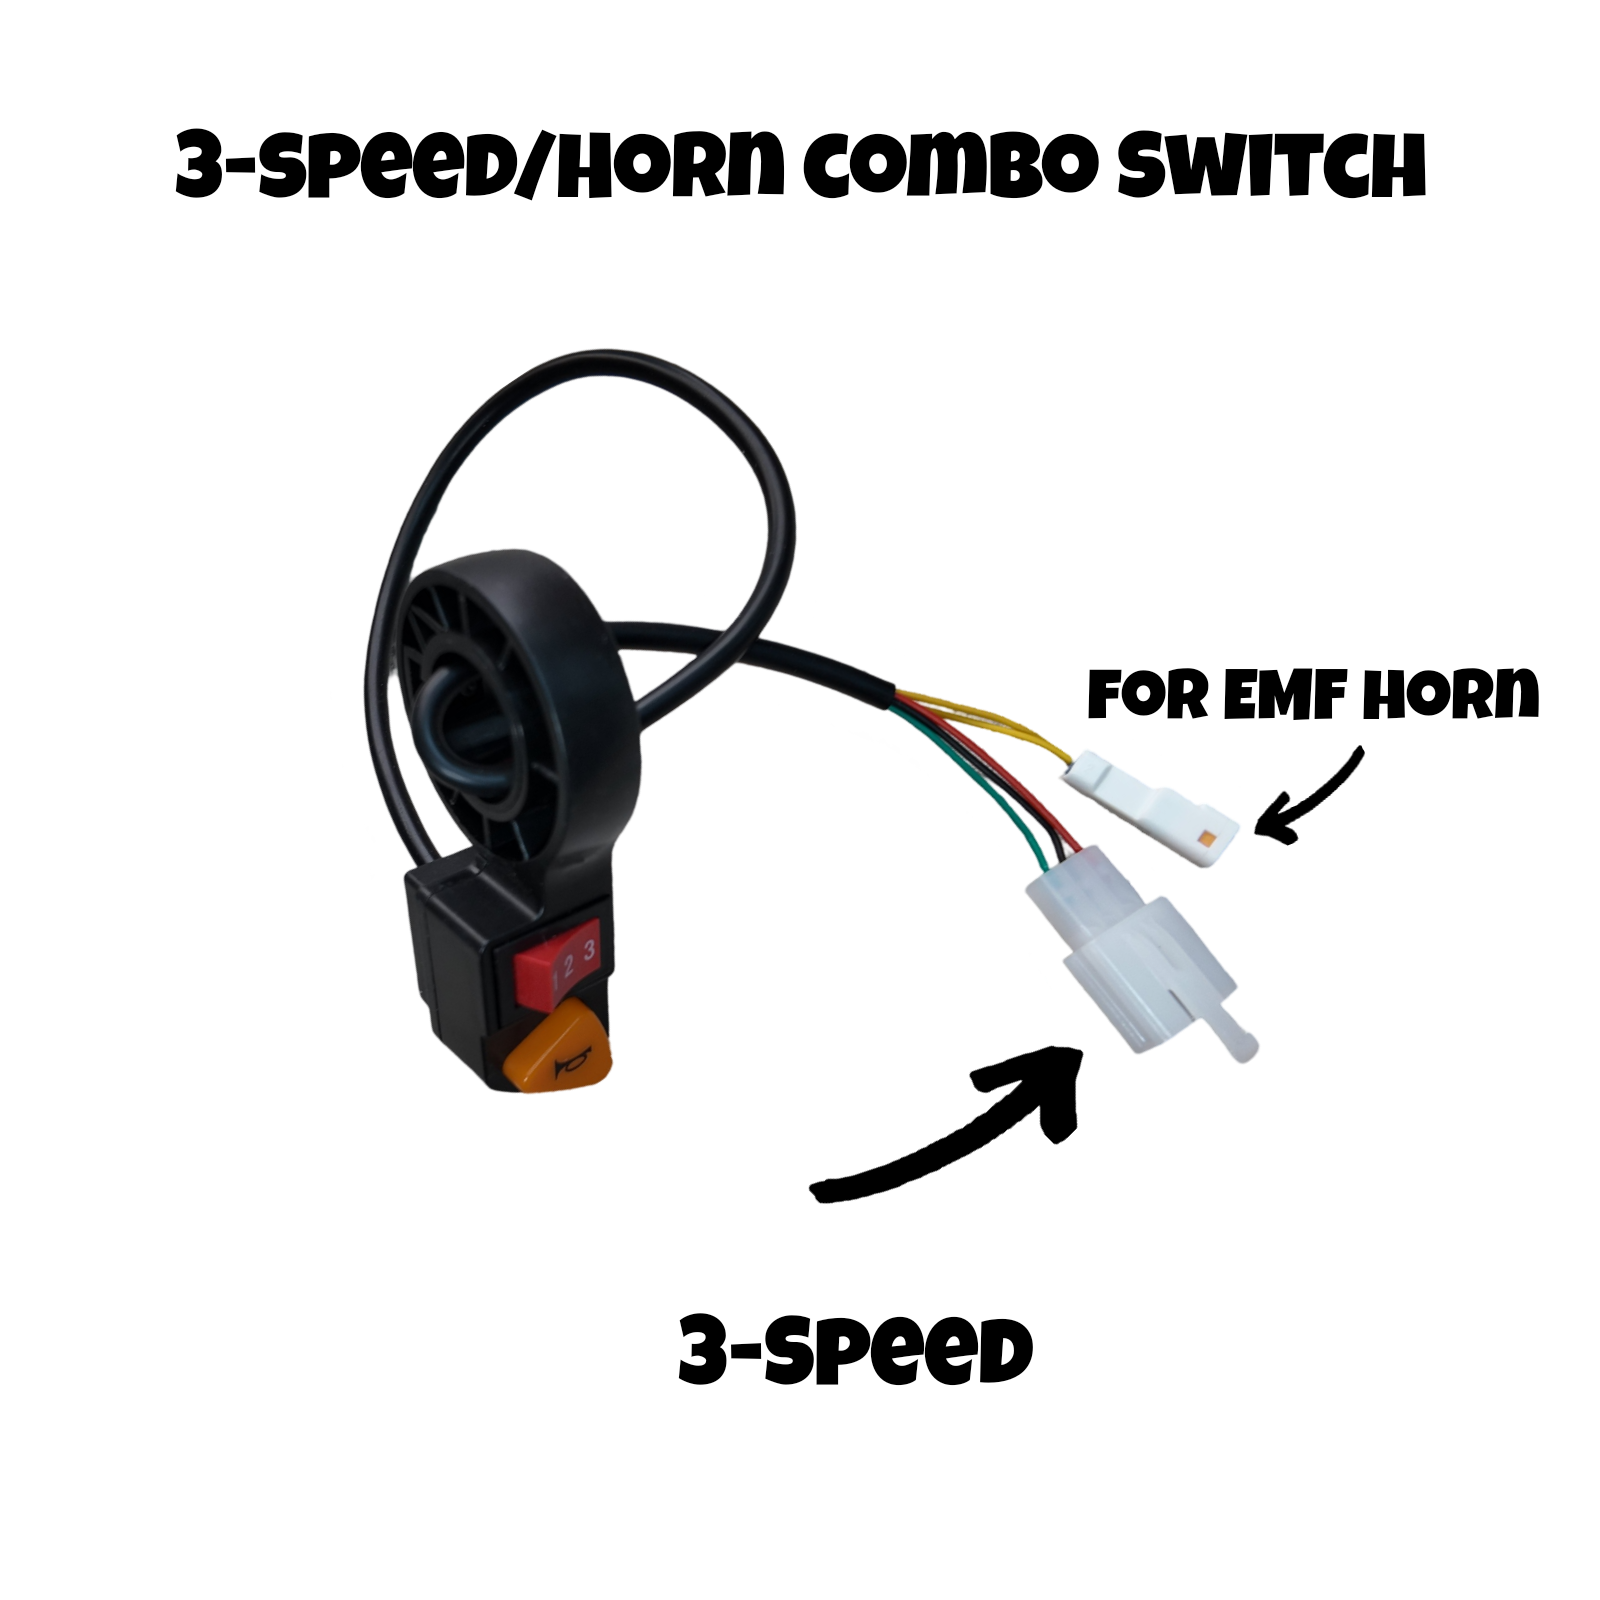
Plug & Play With EMF 12v Tail Light set and B1 Brakes Or EMF Brakes (Sold Separately)
Choose What Model Adapter You Need For Your Bike
Designed For Electric Bikes With Brake Sensors Like Ride Or Die Brakes, Midwest Mini Mods Brakes, And Others
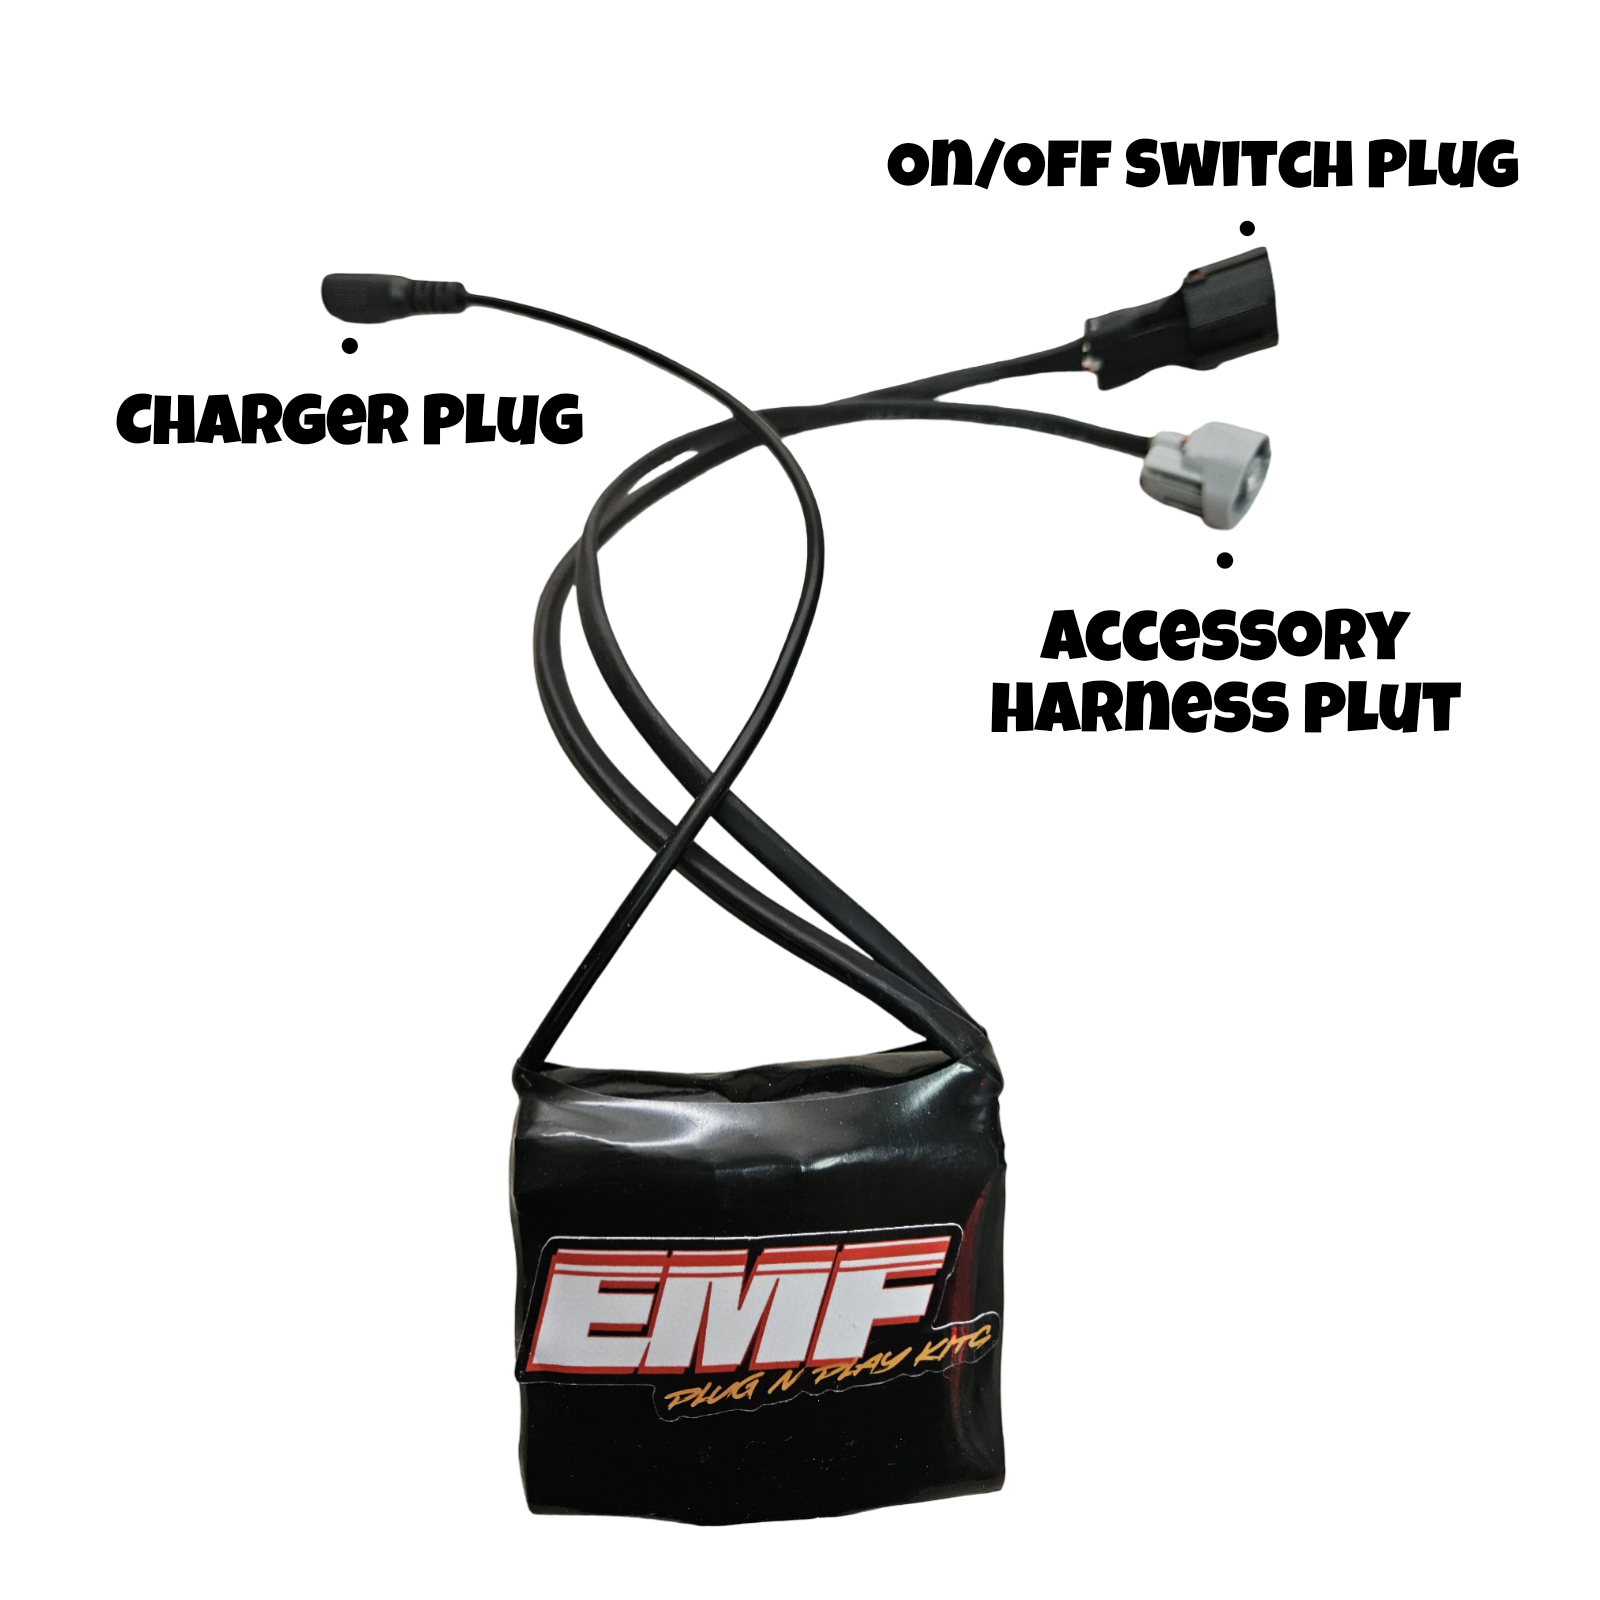
Only For EMF 12v Tail Light Harness
Tested By Our Betta Testers Across The States First
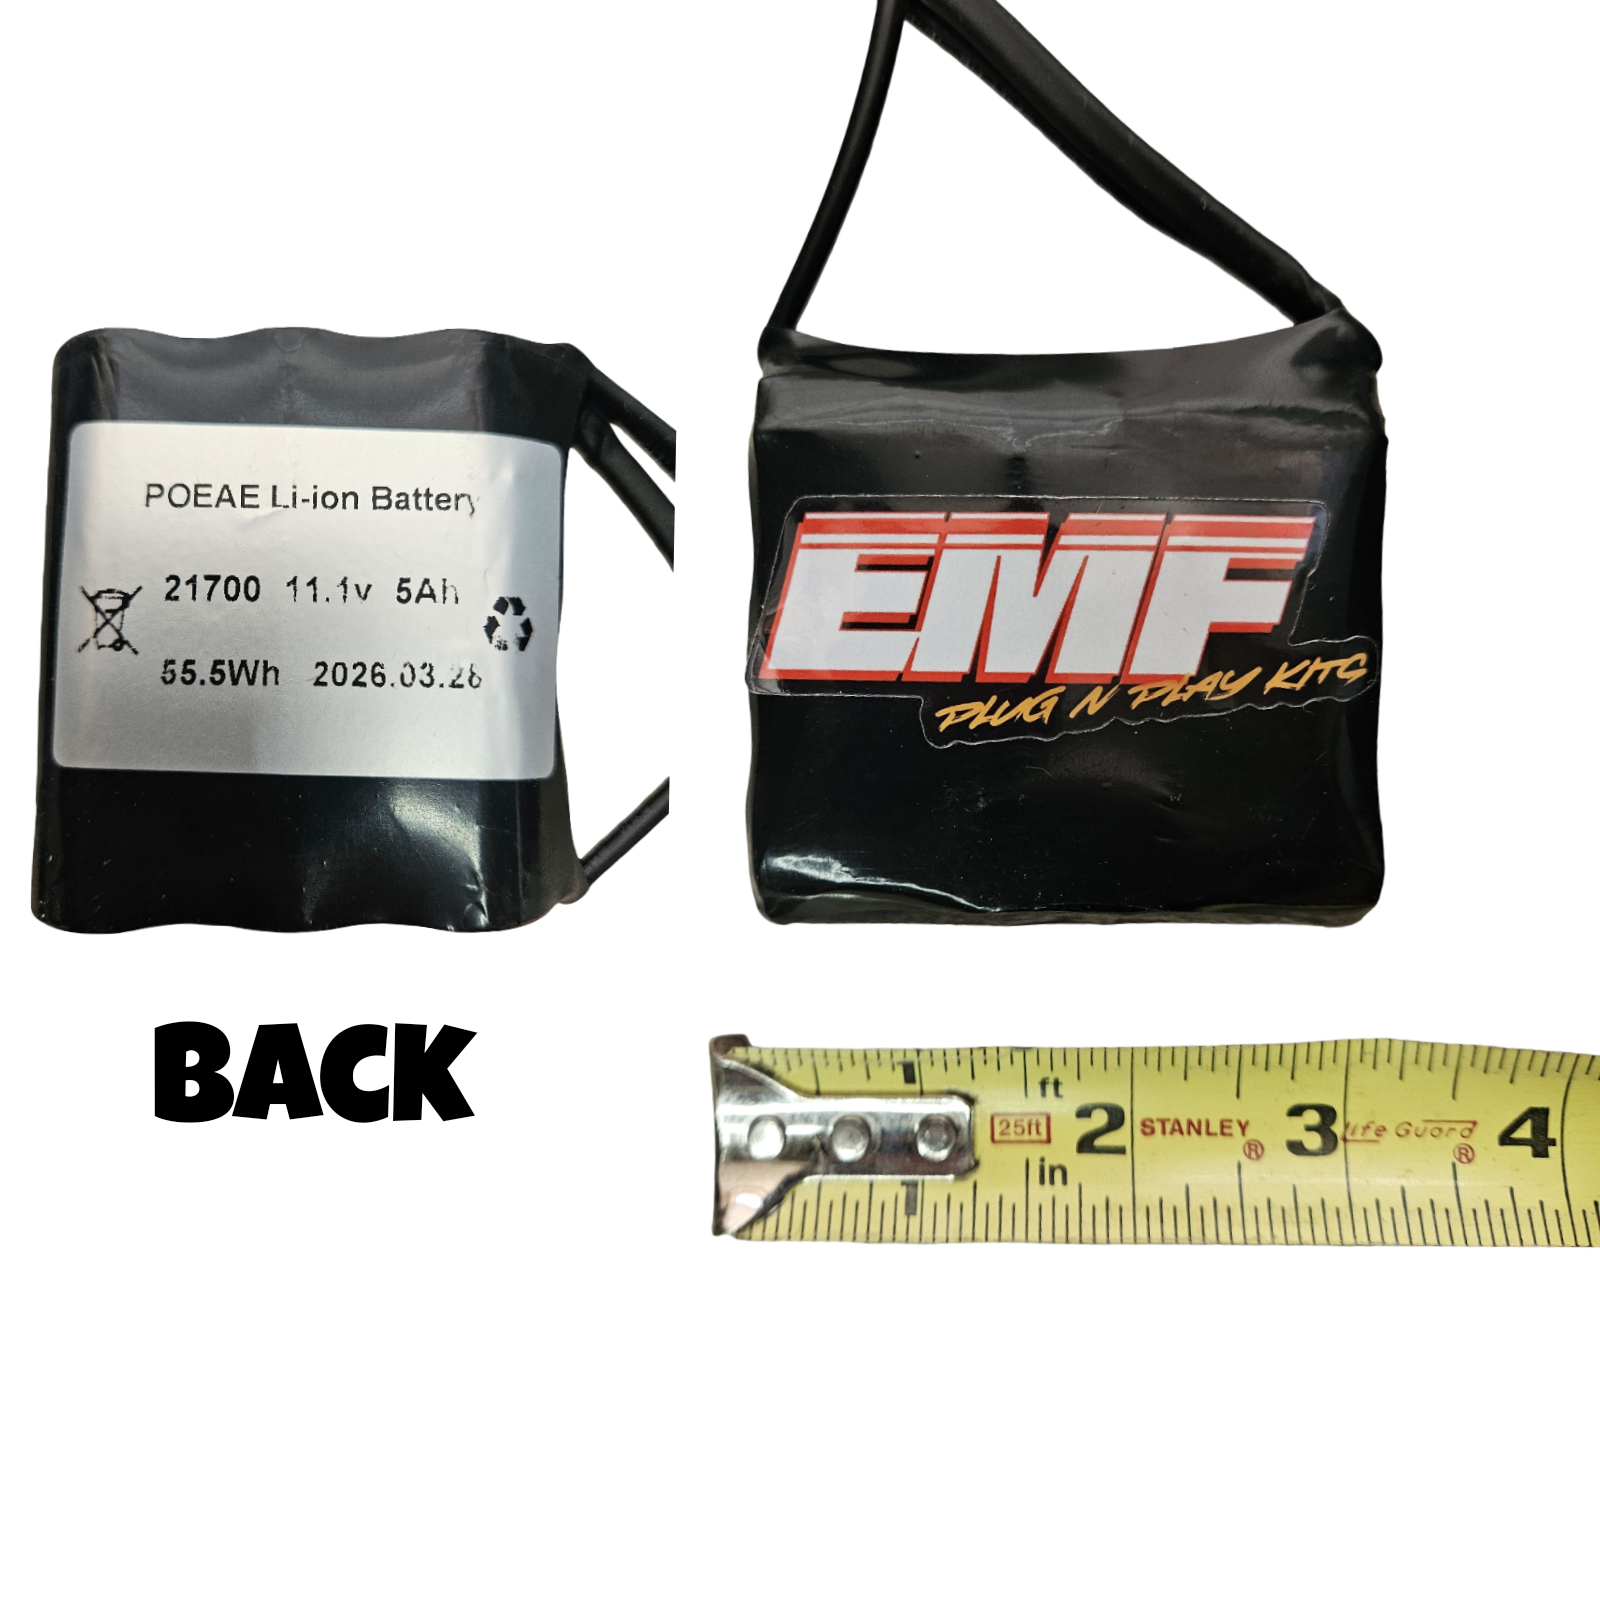
Includes Adapter Harness only
If you have been wanting your EMF brake light to work seamlessly with your brakes, this guide will help you achieve that. However, it is essential to note that this solution ONLY WORKS with brakes that are equipped with a switch and the correct plug on the brake lever.
To get started, ensure that your brake system has the necessary components:
Verify the Brake Switch: Check that your brake lever is fitted with a functional switch. This switch is crucial for activating the brake light when the brakes are engaged. It will be a type of plug on the brake leavers.
Check the Plug Compatibility: Make sure that the plug on your brake lever matches the specifications required for the EMF brake light. Incompatible plugs will prevent the brake light from functioning properly.
Installation: Carefully follow the installation instructions on the picture for connecting the EMF brake light to your brake switch. Make sure all connections are secure and properly insulated.
Testing: Once installed, test the brake light by engaging the brakes. The light should illuminate when the brakes are applied, indicating that the installation was successful.
By ensuring compatibility and following these steps, you can enjoy a fully functioning EMF brake light that activates with your brakes.
PLEASE INSURE YOU UNDERSTAND CORECT BEFOR ORDERING! Please Watch Video On YouTube Reach Out For Questions! If Your Brake Has No Switch Or Wire Coming Out It Wont Work!
-Must Have EMF 12v Power Supply To Plug Into! Please See Our YouTube Video!
Plug & Play With EMF 12v Tail Light set and B1 Brakes Or EMF Brakes (Sold Separately)
Choose What Model Adapter You Need For Your Bike
Designed For Electric Bikes With Brake Sensors Like Ride Or Die Brakes, Midwest Mini Mods Brakes, And Others
Only For EMF 12v Tail Light Harness
Tested By Our Betta Testers Across The States First
Includes Adapter Harness only


 Image 1 of 6
 Image 2 of 6
 Image 3 of 6
 Image 4 of 6
 Image 5 of 6
 Image 6 of 6